How I Remove Objects from Images Without Leaving a Trace
Have you ever taken the perfect photo, only to notice a stray trash can, an awkward passerby, or an unsightly power line ruining the composition? You aren’t alone. In the visual world, what you leave out of a frame is often just as important as what you keep in.
Object removal is one of the most requested digital imaging services, bridging the gap between an "almost perfect" snapshot and a flawless, professional asset. Whether it’s for e-commerce, real estate, or high-end editorial work, cleaning up distractions changes the entire narrative of an image.
Here is a look behind the curtain at how I approach object removal to deliver seamless, photorealistic results for my clients.
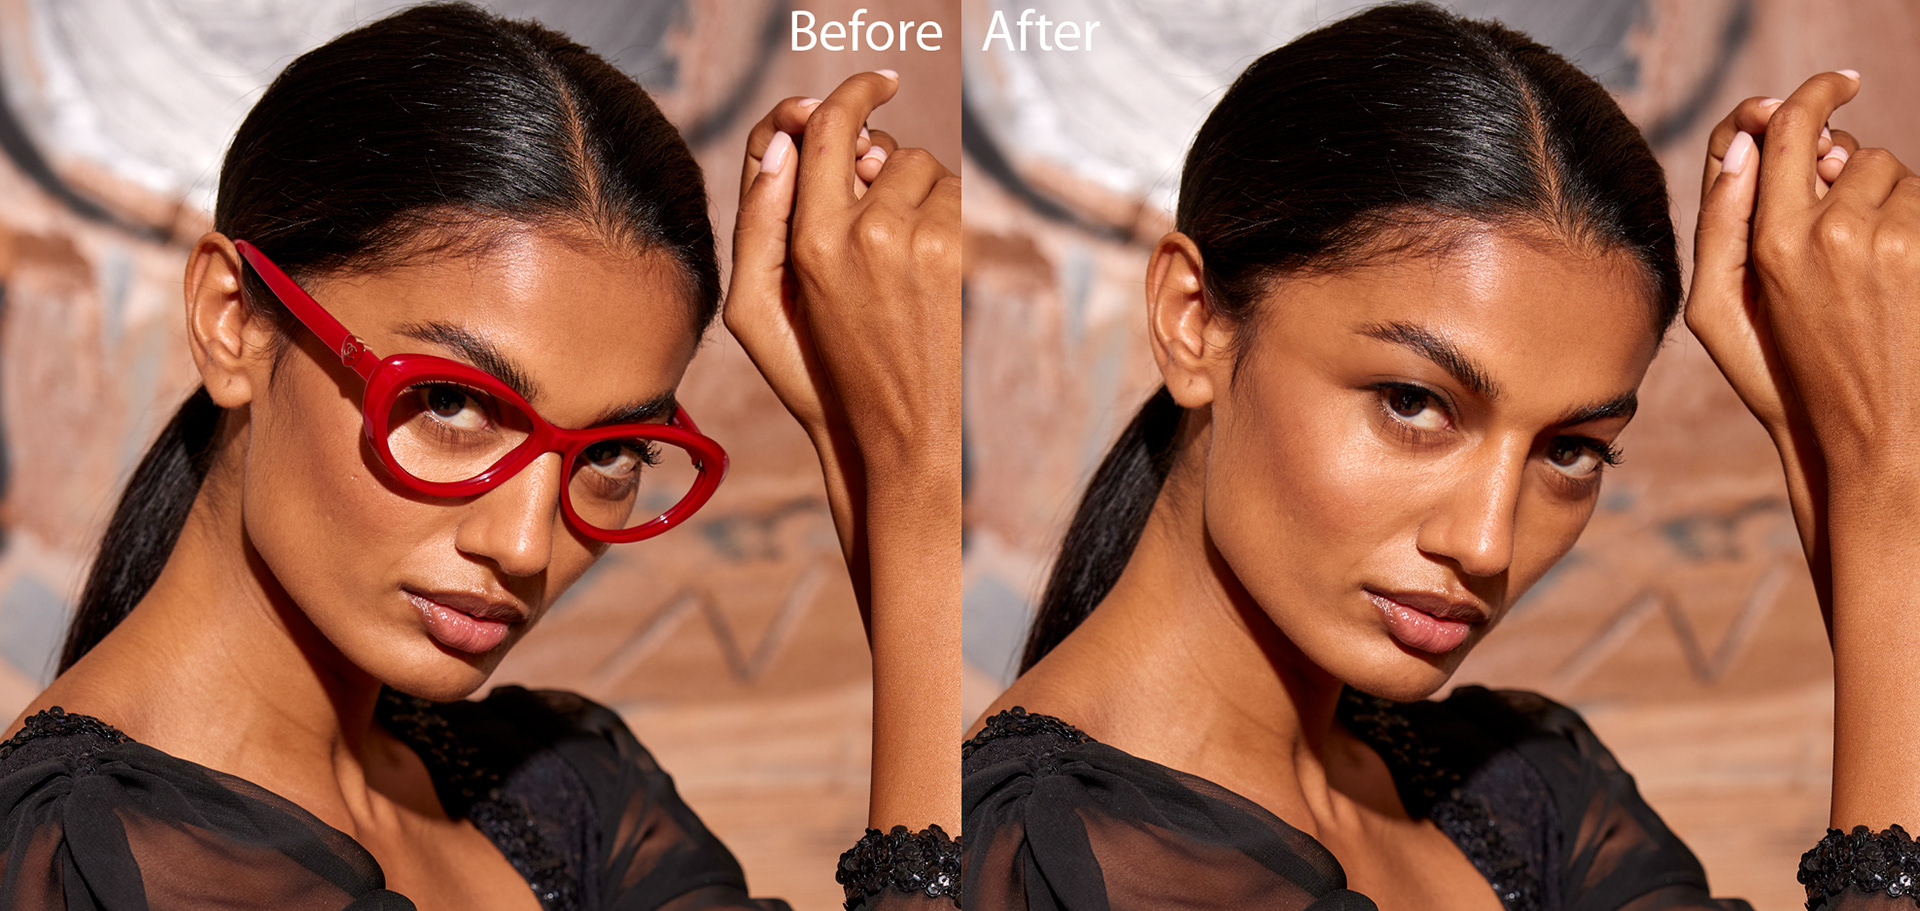
Why Object Removal Matters
It’s easy to think of object removal as just "photoshopping things out," but it’s actually about attention management.
For E-commerce:
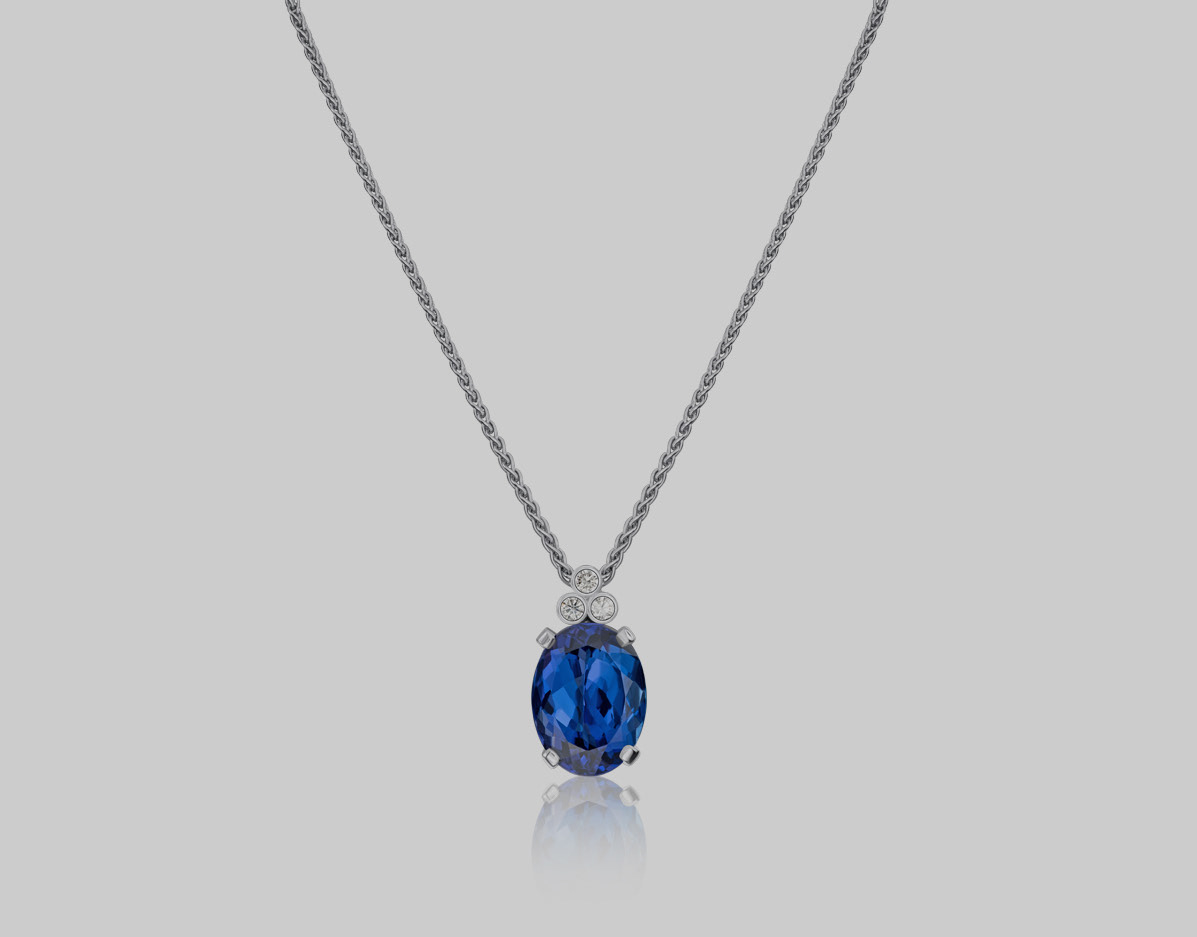
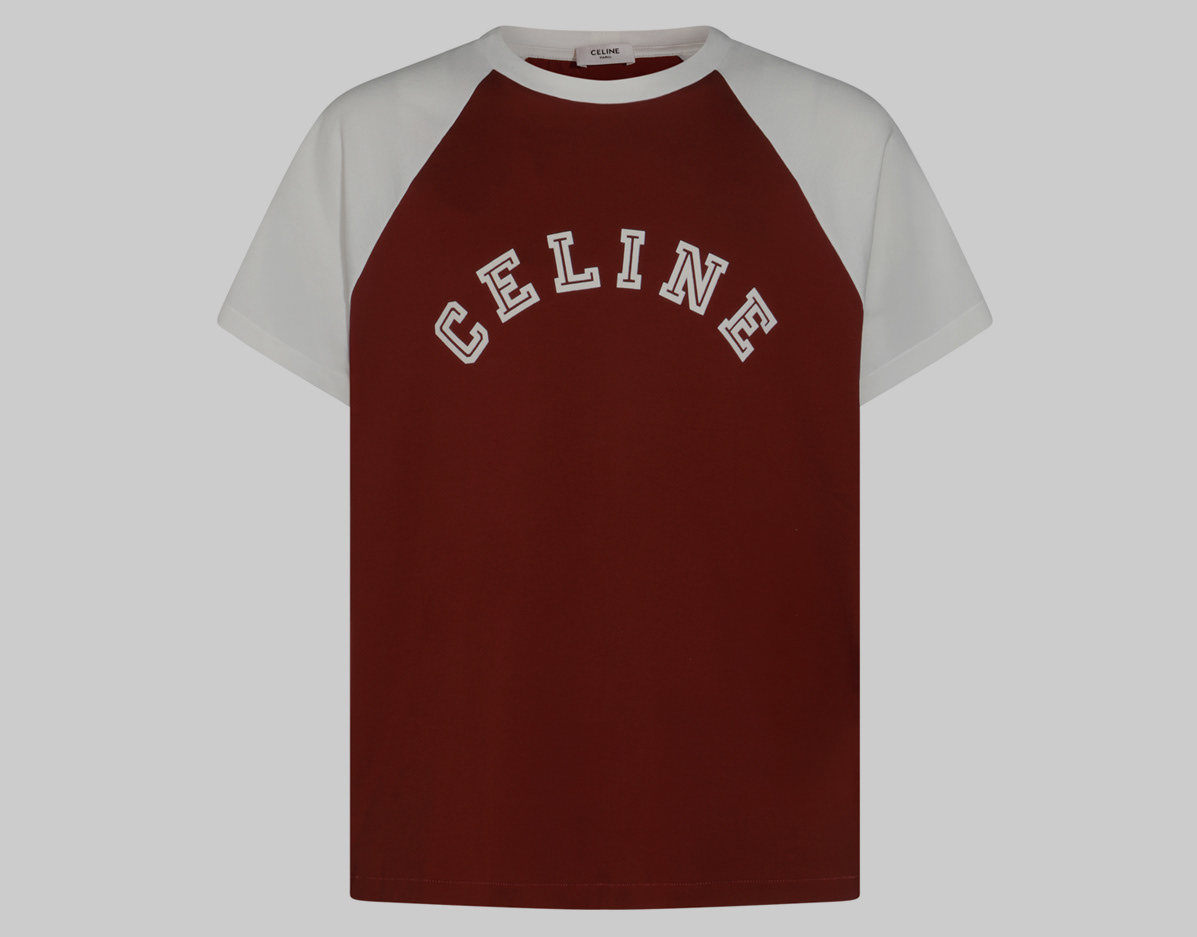
Removing tags, dust, or unwanted reflections ensures the consumer focuses entirely on the product.
For Real Estate:
Eliminating cars from driveways or messy wires from walls allows potential buyers to visualize their dream home without distraction.
For Personal Branding:
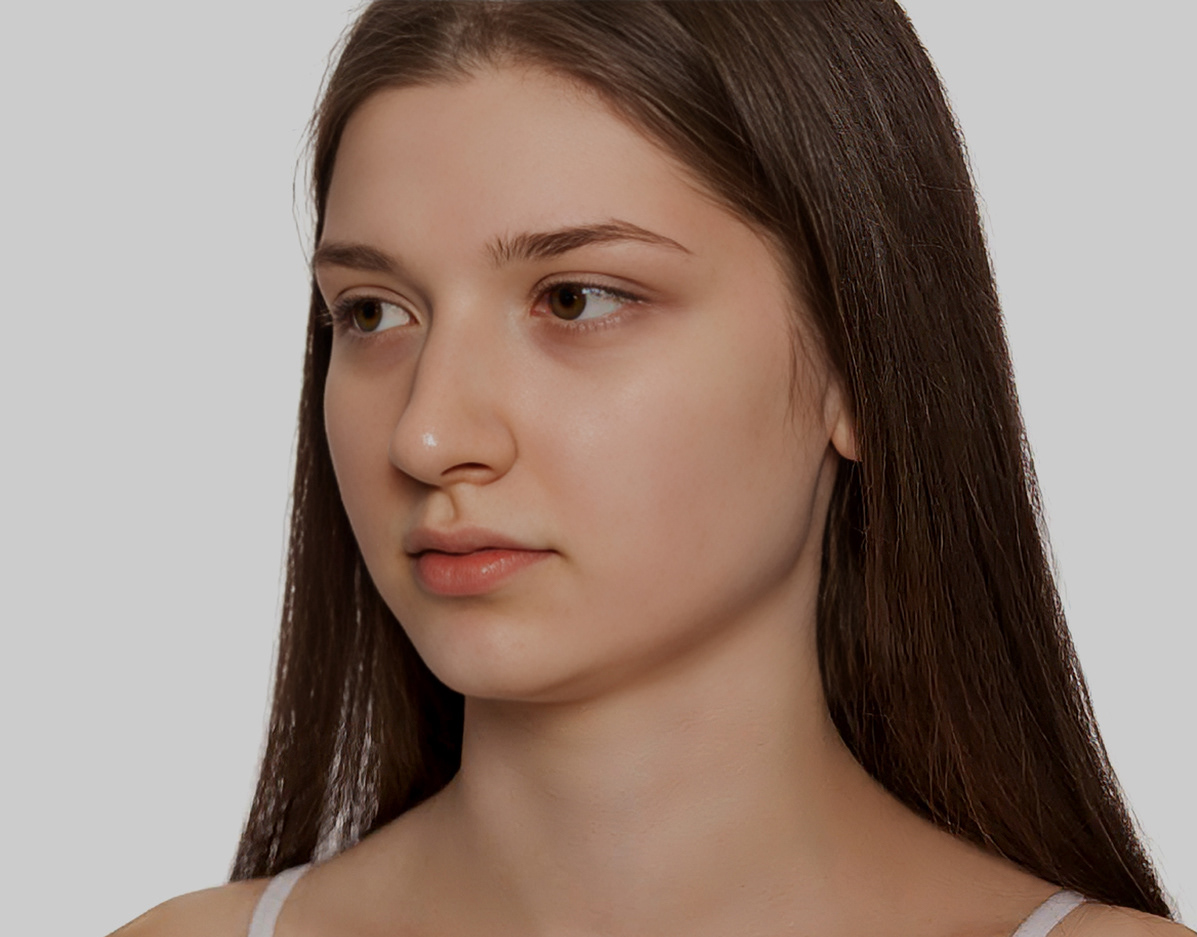
Cleaning up a busy background turns a casual portrait into a sleek, authoritative headshot.
My Process: Beyond the "Clone Stamp"
Achieving a truly invisible edit requires more than just clicking a button. AI tools have come a long way, but they often leave behind telltale blurs, repeated patterns, or warped perspectives.
My workflow combines advanced AI-assisted fill techniques with meticulous, manual pixel-level editing to ensure the final image looks untouched.
1. Analysis & Planning
Before making a single edit, I analyze the image's lighting, texture, and grain. If I remove a streetlamp, I also have to calculate how to recreate the brick wall behind it, match the direction of the sunlight, and replace the shadow it cast on the ground.
Strategic Isolation
Using precise masking tools, I isolate the target object. Depending on the complexity (like hair, fur, or semi-transparent glass), I choose the best tool for the job—whether that’s a pen tool path or an advanced luminosity mask.
Texture Synthesis & Re-lighting
Once the object is gone, the real work begins: filling the void. I sample textures from adjacent parts of the photo to clone over the empty space, ensuring that natural camera noise (grain) matches perfectly.
The Golden Rule:
If a viewer can zoom in to $100\%$ and tell something was removed, the job isn't done.
Ready to Clean Up Your Visuals?
Every pixel counts when you're trying to make a great impression. If you have a batch of product photos that need a polish, or a hero image for your website that needs distractions cleared away, I’m here to help.